If you enjoy fresh greens year-round, growing microgreens could be the answer. They are packed with nutrients, flavor, and texture and can easily be grown indoors, making them ideal for people living in cities with no gardens.
Microgreens are a great addition to salads, sandwiches, and garnish for dishes.
To grow microgreens to their full potential, you must provide the correct temperatures, light, water, and, most importantly, humidity. Optimum humidity levels will differ during the different stages of growth. Installing a humidifier makes this process easy to control at any time of the year.
An average home humidity of 40% to 60% is generally suitable for microgreens.
However, to take your growing skills to a more professional level, it is worth understanding the ideal humidity for growing microgreens at each stage of their development.
Table of Contents
Each development stage requires different humidity levels:
| Development Stage | Recommended Humidity Level |
| Germination | A humidity level of up to 90% is ideal |
| Seedling | Approximately 70% to 75% humidity |
| Maturity | Lower humidity to around 60% – 65% |
| Storage | High humidity refrigerator crisper drawer |
You can easily adjust the humidity by installing a humidifier for microgreens that will give you total control over the amount of moisture in the air.
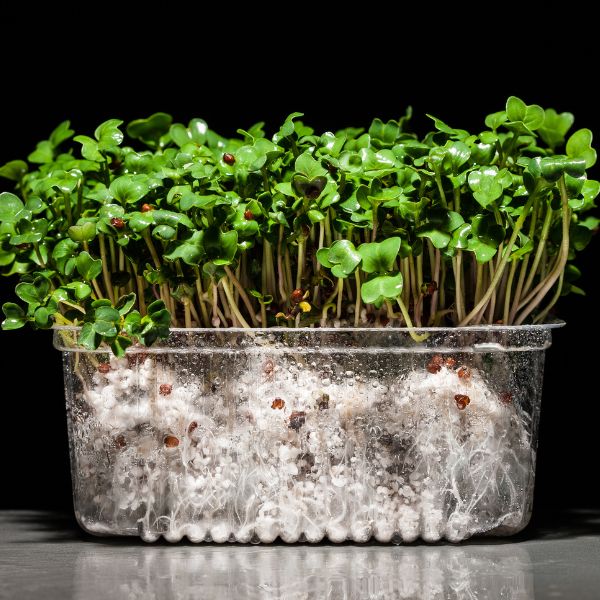
Let’s start with which microgreens to choose
When growing microgreens in an apartment, there are many choices.
Fast-growing varieties can be fully grown and ready to eat in only two weeks.
Choose fast-growing:
- Radish
- Arugula
- Pea Shoots
- Kale
- Watercress
- Mustard.
Slower-growing varieties can take 3 to 4 weeks:
- Parsley
- Chard
- Celery
- Basil
- Cilantro
- Lemon Basil
What is humidity, and why is it important?
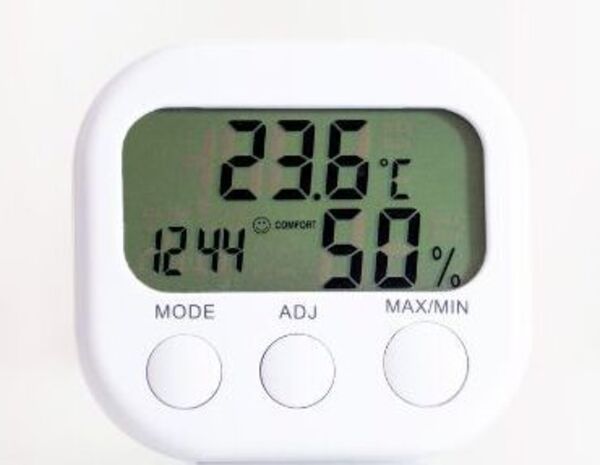
The amount of water present in the air is called humidity. It can easily be measured using a small, inexpensive hygrometer (an example shown in the image below). A hygrometer will register the moisture content as a percentage and display it on the screen.
Keeping your humidity at optimum levels is vital to ensure that your microgreens grow to their full potential.
However this is not an exact rule, use your common sense and adjust the temperature or humidity if you see your plants are not happy, since the growing time is short you can impact the conditions if you respond quickly.
Low humidity levels of under 30% will cause your microgreens to dry out and wilt. They will take on a yellow or brown color and start to sag. The flavor of these will not be as good as healthy microgreens.
High humidity levels of over 70% can cause mold and other diseases to attack your plants. These organisms thrive in damp and warm conditions and feed on your plants.
You will notice dark patches on the leaves that indicate mold colonies. Sorry, microgreens with mold are unsuitable for eating.
Getting started on your microgreens indoor garden
- Select the microgreens you want to grow
- Purchase a seed starting mix of lightweight, well-draining soil.
- Fill a tray with your seed starting mix and sprinkle your microgreen seeds over the soil.
- Press the seeds gently into the soil, but do not cover them with soil.
- Water the seeds thoroughly, but be careful not to flood them. Keep the soil damp but not wet until the microgreens are ready to harvest.
- Place the tray or container in a sunny location, such as near a window with plenty of light. You can use grow lights if you don’t have access to natural light.
- Keep the microgreens at a consistent temperature, around 70 degrees Fahrenheit.
- After about 14 to 21 days, your microgreens will be ready to harvest. Use scissors to cut the microgreens at the soil level.
- Enjoy!
How does a humidifier help microgreens?
Humidity levels play an essential role in the growth and development of microgreens. Different growth cycle stages require different humidity levels to produce the tastiest, freshest plants.
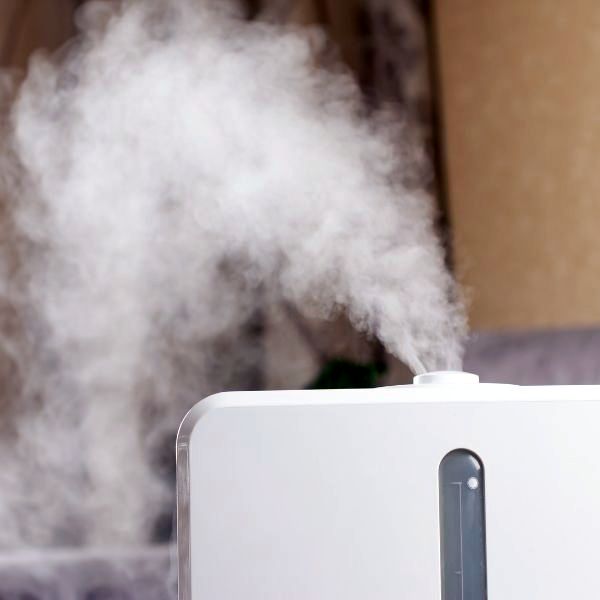
However, the result is the same. The device pulls water from a tank and converts it into a fine mist that expels into your room. As the moisture builds up, the humidity level will increase.
Smart humidifiers can maintain specific humidity levels that you select. You can monitor smaller devices without SMART functions using a hygrometer and adjust the settings as required.
Let’s look more closely at the ideal humidity for growing microgreens.
Germination
Microgreens need high humidity levels to sprout during the germination stage, which typically lasts 1-3 days.
A humidity level of up to 90% is ideal for germination. A humidity this high almost means rain in your apartment!
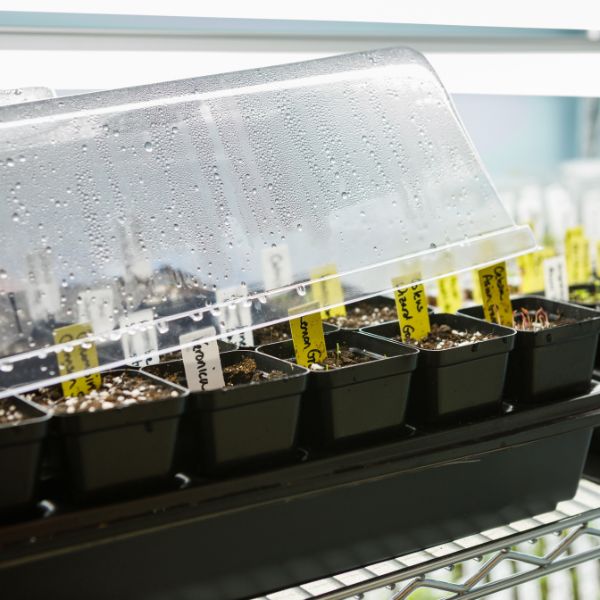
If you want to create a very high humidity for your greens, using a microgreen humidity dome is an excellent tool for keeping conditions moist while your seeds germinate.
When I think of a humidity dome my mind conjures up the below image.

A realistic version of a humidity dome suitable for microgreens is shown below.
Seedling stage
Once the microgreens have sprouted, they enter the seedling stage.
During this stage, which lasts around 3-7 days, the best humidity for microgreens is approximately 70% to 75% helping to prevent damping off.
Damping off is a fungal disease that affects young seedlings and causes the stem and root tissues below the soil line to rot.
Maturity
You can lower the humidity at maturity to around 60% – 65%.
You are helping to prevent the microgreens from becoming too wet, which can lead to mold and disease attacking your plants.
Enjoy!
You can serve your microgreens:
- as garnishes on main entrees like stews
- spices in soups or egg dishes
- sprinkled on salads, pasta, or sauces
- add them to juices for an extra bit of nutrition.
Storage
If you plan on using your microgreens later, you can store them:
- In the refrigerator inside an airtight container on the bottom shelf. They will keep for around one to two weeks when stored this way.
- Dehydrating or dehumidifying microgreens is an excellent way of preserving them, either whole or as a powder. Dehydrating can be achieved with an oven, food dehydrator, or the sun.
Remember that the humidity level also depends on the type of microgreens you are growing. Some microgreens require more humidity than others.
Also, the humidity for growing microgreens may need to be adjusted based on the room’s temperature, light, and airflow.
Use your hygrometer regularly and make adjustments as needed.
How do I choose the best humidifier for microgreens?
Here are some features to consider when looking for a microgreen humidifier to ensure the ideal humidity for microgreens:
- Size matters, check the size of the area you wish to humidify and match the capacity of the humidifier with the area dimensions.
- Choose a model that can run for 24 hours or more. You don’t want to have to keep filling the tank.
- Ensure that it has a low noise level, so the family can sleep while you hydrate your microgreens.
- Make sure that it is easy to take apart and clean. Humidifiers for microgreens need regular cleaning to prevent mold from growing in the tank and ending up in the mist that falls on your plants and potentially contaminates them.




Leave a Reply
You must be logged in to post a comment.