Does your humidifier look more like a murky green pond rather than a crystal clear glass of water? It is time to clean the mold out of your humidifier.
To ensure that your humidifier is free from mold, we recommend an in-depth weekly clean and a less intense daily clean if you use your humidifier frequently.
Refer to the manufacturer manual for specific cleaning requirements for your particular humidifier model.
Table of Contents
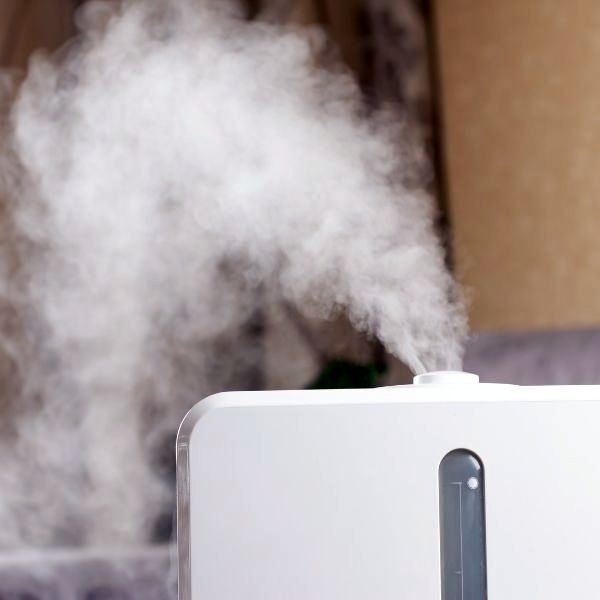
Daily cleaning to remove Mold from the humidifier
Daily cleaning should take up only a little of your time.
Follow these easy steps:
Empty the tank
Pour out the water that is in the tank.
Rinse
Half-fill the tank with clean water, swish it around and rinse it out. You can do this a few times, depending on how energetic you feel.
Note: If you are not planning on using your humidifier for a couple of days, leave the tank empty and let it dry out.
Refill
Fill the tank with clean water. If you want to go the extra mile, using distilled water or cooled boiled water is a great way to slow down mold growth in your humidifier.
Wipe down
Use a clean damp cloth and wipe down the machine. Remember to wipe down the surface that the device stands on, as it can become damp and sticky.
Filter replacement
If your humidifier has a filter. Adhere to the recommended filter replacement schedule since mold spores can also accumulate in the filter.
Weekly clean to remove Mold from humidifier
You will need the following items to clean mold out of your humidifier:
- Clean water
- Medium to hard, clean toothbrush
- A clean, soft cloth or paper towels
- Measuring cup
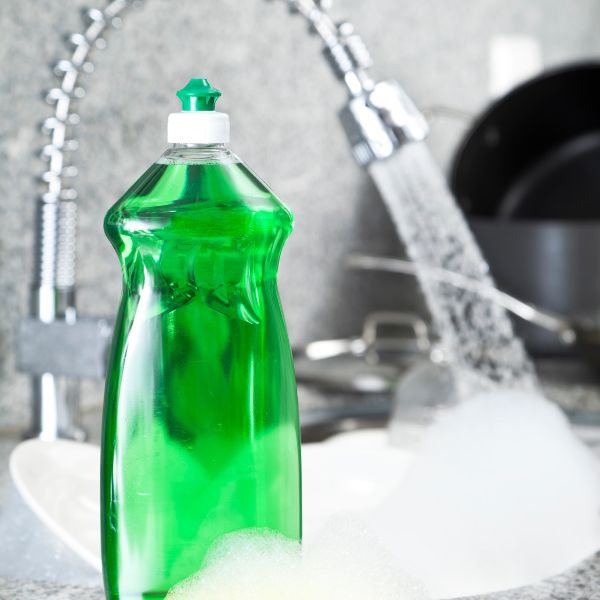
- Hydrogen peroxide OR white vinegar OR dishwashing detergent
- Spray bottle
- Disposable gloves
Follow these steps:
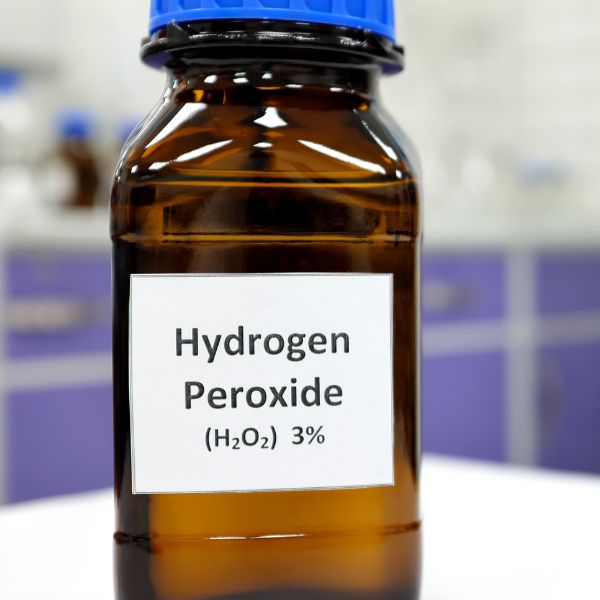
Mix your hydrogen peroxide solution
If the words hydrogen peroxide scare you, don’t stress.
You can buy it at your local pharmacy, grocery store, or hardware store.
It is a liquid used as a mild bleaching agent or an antiseptic. You must dilute it before use.
Wearing gloves as a precaution when working with hydrogen peroxide is a good idea. High concentrations of this chemical can burn your skin.
The standard 3% solution bought in your local store is not dangerous, but it is better to be cautious.
Mix 4 cups water with 1 cup of 3% hydrogen peroxide. After mixing your solution, pour it into the spray bottle and set it aside.
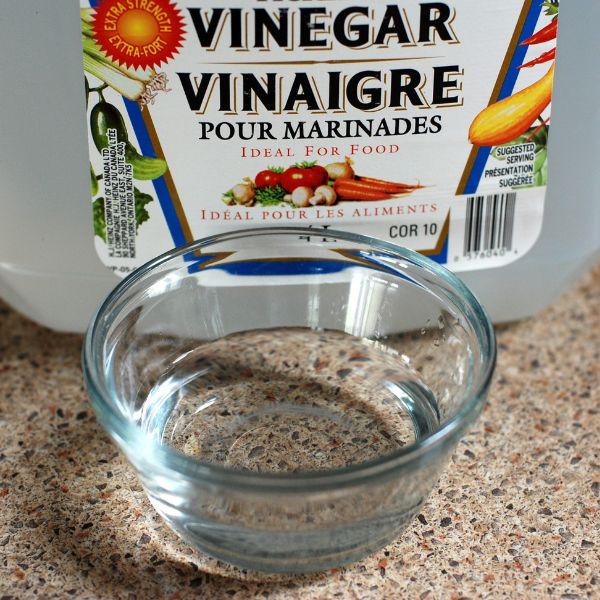
Alternatively, you can replace the hydrogen peroxide with white vinegar.
Unplug your machine
Water and electricity are not a happy couple.
Refrain from cleaning your machine in your bedroom or baby nursery. Unplug it and move it to the kitchen or bathroom.
Empty the tank and rinse it out
Pour the water out of the tank. Half-fill it with water, swish it around, and empty it again.
Disassemble your machine
The majority of home humidifiers have a base and a tank. More expensive machines may have other parts.
Follow the instructions on how to disassemble your humidifier into its components.
Lay them all out on your work surface or laundry sink.
Place your Gloves on
Spray the parts
Be mindful that the peroxide solution may stain some surfaces.
Using the spray bottle, spray all the parts of the machine.
Spray inside and outside the tank and the base.
When spraying your machine, take note of the manufacturers’ directions that indicate which parts of the device should not get wet.
You don’t want the water to damage the motor, and all your hard work will be for nothing.
Use the toothbrush
Now use your toothbrush and give every part a deep clean. Take special note of rims, joints, corners, and seams.
Pay extra attention to the opening where the humidity feeds out of the device; mold loves to grow here.
Brush away madly while blasting your favorite music. No one can complain – you are working hard.
Rinse all the parts
Rinse off each component with clean water.
You want to remove any mold that loosened and the smell of hydrogen peroxide or vinegar.
Take care not to get the motor wet.
Fill the tank with fresh water and empty it a few times, ensuring it is squeaky clean.
Wipe down the exterior
Use a clean damp cloth and wipe the outside of the machine. You can wipe the electrical cord but keep water away from the motor and the electrical connections.
Allow the machine to dry
Let your humidifier stand until it is dry.
Put the humidifier back together
When the parts are dry, reassemble the machine.
Fill the reservoir with fresh water
You should not add water to the humidifier if you are planning not to use it for a few days or if you are storing it at the end of the season.
Operate as usual.
Black or Pink Mold?
Humidifiers help reduce common ailments like sore throats, dry skin, snoring, coughing, blocked sinuses, hay fever, and allergies.
Because they increase the moisture content in the air, people suffering from these conditions will find that they do get relief. Read more about the 8 Symptoms relieved by a Personal Humidifier.
However, if your humidifier has become a breeding ground for nasty organisms and you have mold in your humidifier, you may feel ill rather than better. Humidifier sickness is undoubtedly not what you want.
Humidifiers offer water and warmth for mold and mildew spores to flourish. They will grow happily and then find their way into the air you and your family breathe.
The mold spores can also spread out to other surfaces in your home, so preventing mold can make a big difference to the safety of your home.
Mold is a type of fungus; it comes in a variety of colors. Some can be dangerous, especially when distributed via the air.
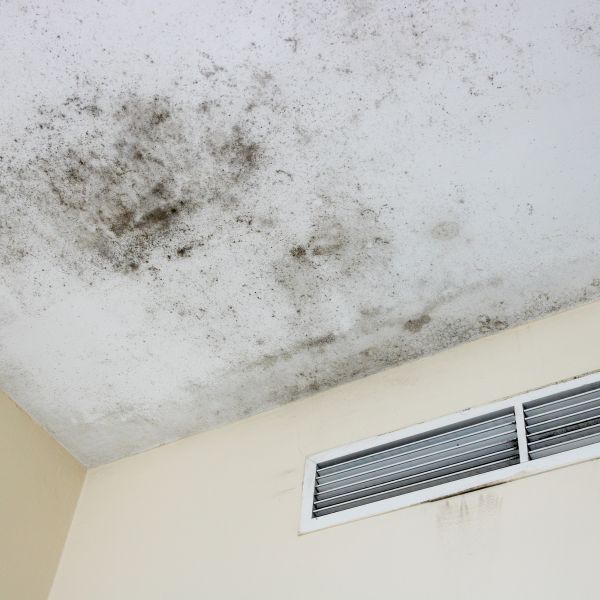
Black mold or mildew is fungal and grows on wet surfaces.
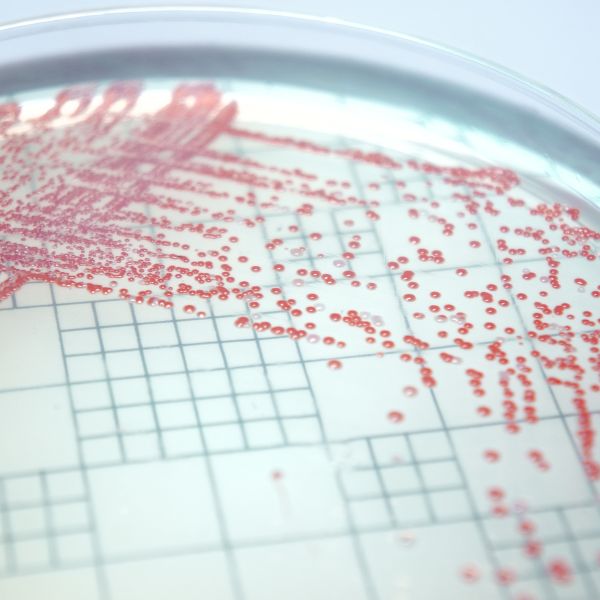
If you have pink mold in your humidifier, this is not good since it is not mold but bacteria. The most common pink mold is officially called Serratia marcescens.
Although pink mold in a humidifier is not as harmful as black mold, you don’t want it either in your humidifier or your lungs.
FAQs
How to get rid of Pink Mold in a humidifier?
To get rid of pink mold in a humidifier and generally, how to clean mold from a humidifier several steps can be followed:
Unplug the humidifier and disconnect it from any power source.
Carefully disassemble the humidifier, separating the water tank, filter, and any removable parts.
Using a mixture of warm water and mild detergent, thoroughly clean these components, ensuring that all traces of pink mold are removed.
For stubborn areas, a soft brush can be used to scrub away the mold.
Rinse all parts with clean water and dry them completely before reassembling the humidifier.
Clean and sanitize the humidifier regularly to prevent the growth of pink or black mold in the future.
Is Pink Mold In Humidifier Dangerous?
While it can cause respiratory problems, urinary tract infections, and eye irritation, it is generally not dangerous to most healthy individuals.
How To Prevent Pink Mold In Humidifier
To prevent pink mold in a humidifier, start by cleaning and drying the unit thoroughly before each use. Use distilled water instead of tap water to avoid mineral buildup. Empty and dry the tank when not in use, and keep the area around it well-ventilated.
Summary
Humidifiers attract mold and bacteria that live in water and warmth. It is vital to clean your humidifier regularly.
Humidifiers are great for alleviating health issues like dry skin, stuffy noses, sinusitis, hay fever, allergies, and snoring.
A machine covered with mold will likely make you sick, not better.
Plan to wash out your humidifier daily and deep clean it once a week.
If you follow this routine, you will remove the mold from your humidifier, and you won’t need to worry about humidifier sickness. The air in your home will always feel fresh and clean.


